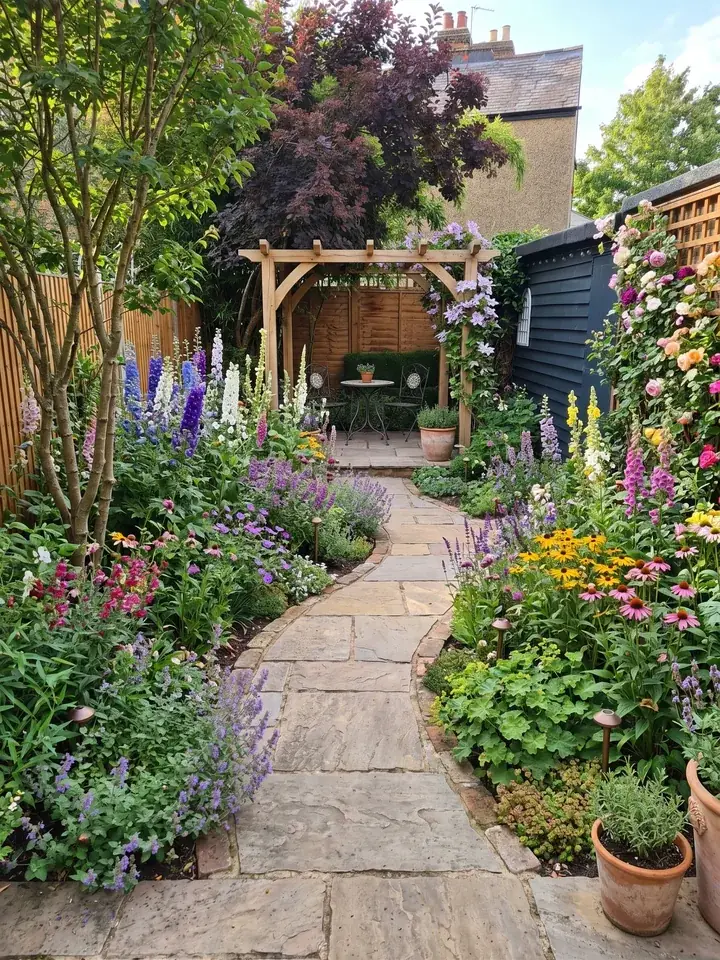
How do you design a garden? The 9 garden design steps at a glance
If your starting point is "I don't know how to design my garden, I just know I don't like it", that is a fine place to begin. This is how to design a garden from scratch, drawing on the RHS's own garden design guidance, and it works just as well when you are working out how to design your garden around what is already there.
- Decide what you want from the garden and who will use it.
- Get to know what you have: light, soil, drainage, wind and views.
- Measure the garden and draw a plan to scale.
- Choose a style that suits you, your house and your conditions.
- Plan the structure: boundaries, paths, seating and lawn.
- Plant in layers, from trees and hedges down to quick fillers.
- Choose plants that suit each spot.
- Set a budget and phase the work.
- Build it in the right order.
Step 1: Decide what you want from the garden
A good design starts with a list, not a spade. The RHS suggests writing out your wants and needs before you go near a garden centre, then putting them in order: when space or money runs short later, the list tells you what to keep. If you like eating outside, it suggests at least one table and chairs, if not two, so you can sit in the sun in the morning and the evening. The questions that matter most:
- Who is it for? Adults only, children who need room to play, a dog, regular visitors, or wildlife.
- How will you use it? Eating outside, growing flowers or food, a quiet seat, or simply something that looks good from indoors.
- How much time can you give it? Pots, hanging baskets and vegetables need regular watering; flowers, shrubs and trees planted in the ground need far less.
- What should be hidden, and what kept in view? Overlooking windows, a busy road and the bins, or a tree beyond the fence.
Step 2: Get to know what you have
It is tempting to rush this step, but it decides whether your plants thrive. The RHS advises getting to know your garden over as long as you can, ideally a whole year, because gardens change so much with the seasons. At the very least, check these:
| What to check | How to check it | What it tells you |
|---|---|---|
| Light and aspect | Note where the sun is in the morning, afternoon and evening. A phone compass tells you which way the garden faces. | South and west facing spots are warm and sunny; east and north facing ones are cooler and shadier. East gets morning sun, west gets afternoon sun. |
| Soil type | Roll a damp handful between your hands. Gritty soil that will not hold a sausage shape is sandy; sticky soil that rolls into a long, thin sausage and polishes shiny with a finger is clay. | Clay is rich in nutrients but wet and cold in winter and baked hard in summer. Sandy soil drains fast, warms up early and dries out quickly. Loam, a mix of clay, sand and silt, is fertile and easy to work. |
| Chalk and pH | Drop a little soil into a jar of vinegar: if it froths, it is chalky (lime rich). A simple pH kit from a garden centre gives you the number. | 7 is neutral, lower is acid, higher is alkaline. Some plants, such as rhododendrons and blueberries, need acid soil. |
| Drainage | Look for puddles that sit after rain. Dig a hole 30 to 60cm deep, fill it with water and cover it. | If water is still there hours or days later, the ground drains badly. Choose plants for wet soil, use raised beds, or improve the drainage. |
| Wind and frost | Notice where the wind usually comes from, and where cold air settles on frosty nights (often the lowest part of the garden). | Hedges and open screens slow the wind; solid fences make it gust. Low spots where cold air collects (frost pockets) are poor places for early flowering plants. |
| Views and privacy | Look out from inside the house as well, especially the kitchen window. Note where you feel overlooked. | What to frame, what to screen, and where a seat would feel private. Trees that lose their leaves let in more light in winter, but give less privacy. |
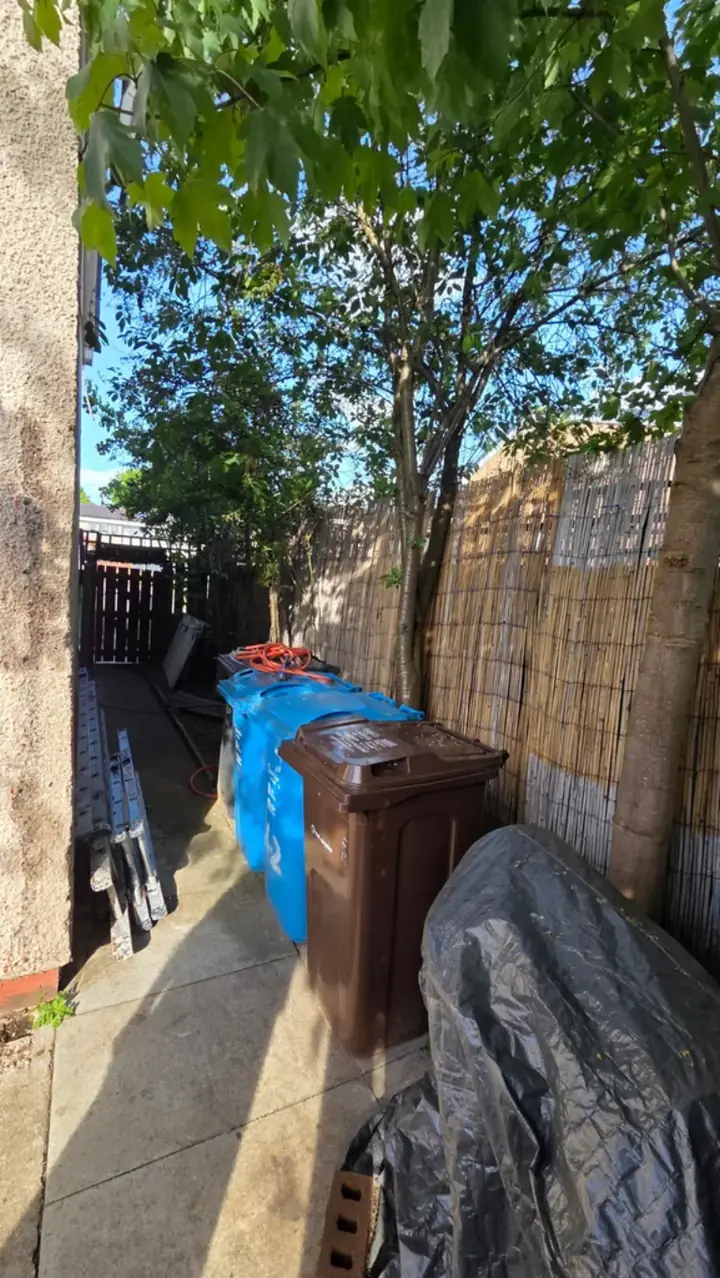 Before
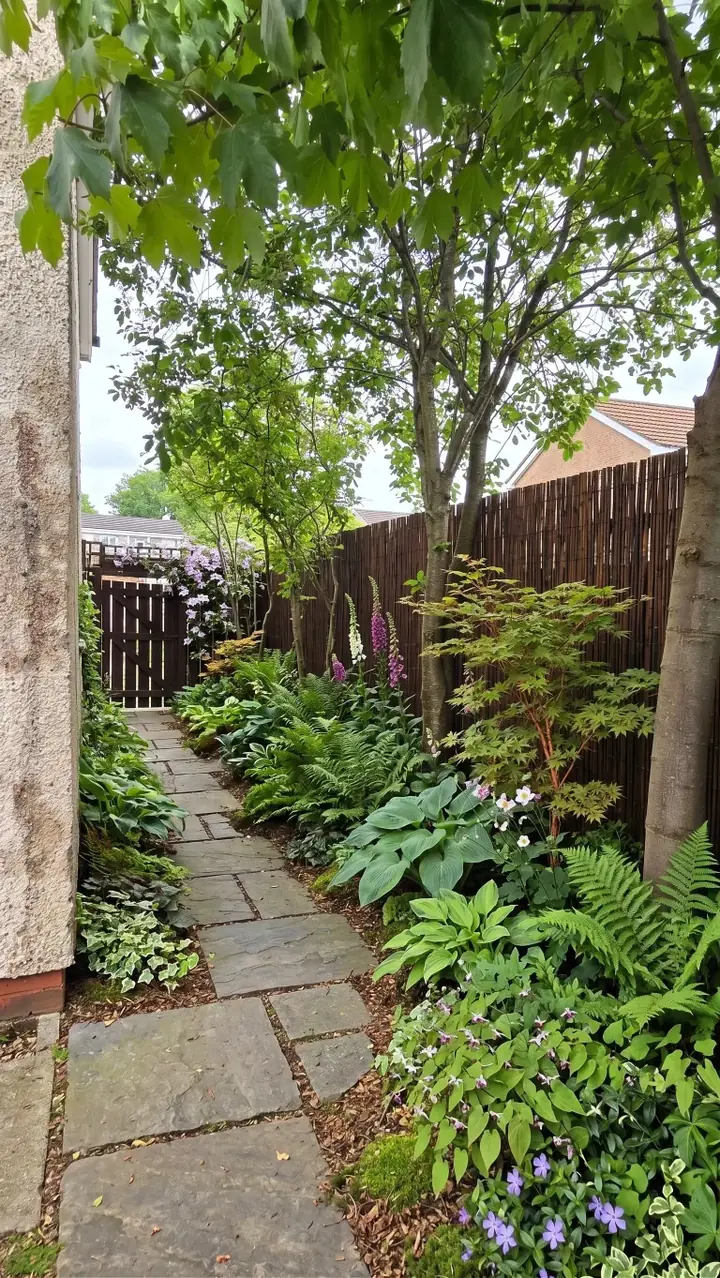 After
Work with it, not against it
The RHS advice is to work with what you have rather than try to change it completely. If your soil is dry and chalky, grow plants that like those conditions and you will get better results for less effort. Digging in garden compost or well rotted manure makes most soils more fertile and better drained, but choose plants for the soil you have.
Step 3: Measure the garden and draw a plan
The most useful thing to know about how to plan a garden design is that it happens on paper first. Gardens are rarely the shape we think they are, and a scale plan lets you order the right amount of paving, gravel and plants. As the RHS points out, it is far easier and cheaper to change a patio on paper than once it is built.
Be most accurate near the house, where the doors and patio are; at the far end it matters less. If an overgrown border hides the boundary, an aerial view online can help.
- Sketch the garden roughly: the house with its doors and windows, the boundaries, and anything fixed, such as trees, sheds and manhole covers.
- Use the two back corners of the house as fixed points, and measure the distance between them first: that line is the base of your plan. Then measure from each corner to every corner of the boundary, and to each tree or shed. Two measurements from two fixed points pin anything in place.
- For a curved edge, measure two equal lines out from the house at right angles, peg a straight line between their ends, parallel to the house, then measure at right angles from that line to the boundary at regular intervals.
- Draw it to scale, starting with the house. Most average sized gardens fit at 1:50 (2cm on the ruler is 1m in the garden) or 1:100 (1cm is 1m); your longest measurement decides which. Set a compass to each scaled measurement and the point where two arcs cross marks the spot.
- Lay tracing paper over the plan and sketch ideas on that, so you can try several without redrawing.
Try ideas before you commit
That tracing paper is the cheapest way to learn how to create a garden design: try shapes for the lawn, the patio and the beds until one works. For planted layouts on real gardens, see our garden layout planner page. Faster still, add a photo of your garden to Garden Design App, pick one of 15 styles and see the whole garden redesigned in about a minute, then try another style on the same garden, so you compare finished looks before you draw a line.
Step 4: Choose a style
A style gives every later choice a filter: the materials, the shapes and the plants. The RHS suggests asking how you want the garden to make you feel, a calm green retreat or bright colour for parties, and collecting pictures you love on a mood board or an online pinboard. You do not need to stick to one style, but a few favourites help turn things you like into real ideas.
Let your conditions and your house guide you. A Mediterranean border wants sun and free draining soil; a woodland look wants some shade and soil that holds moisture, though many styles adapt with careful plant choice. The style of the house, and local materials such as brick, stone and slate, can tie the garden to its setting. Browse all our garden styles to see each one on real gardens, then add a photo of your garden to Garden Design App and see it redesigned in the style you like, with your house, fences and trees still in the picture, so you choose knowing how it suits your garden. A few popular ones:
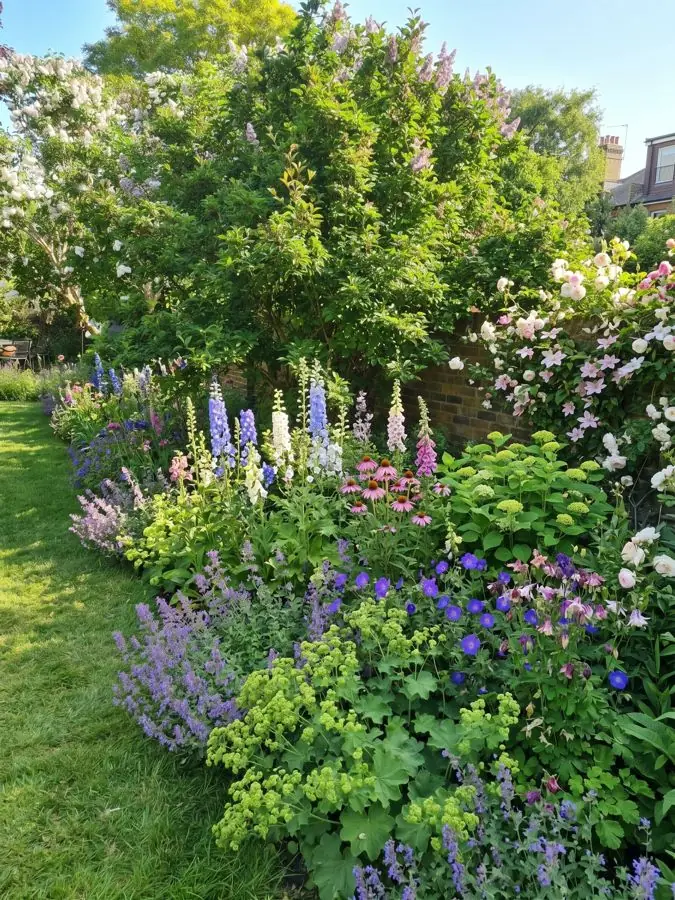
- Cottage: full, informal borders packed with flowers. It is the style people choose most in our app.
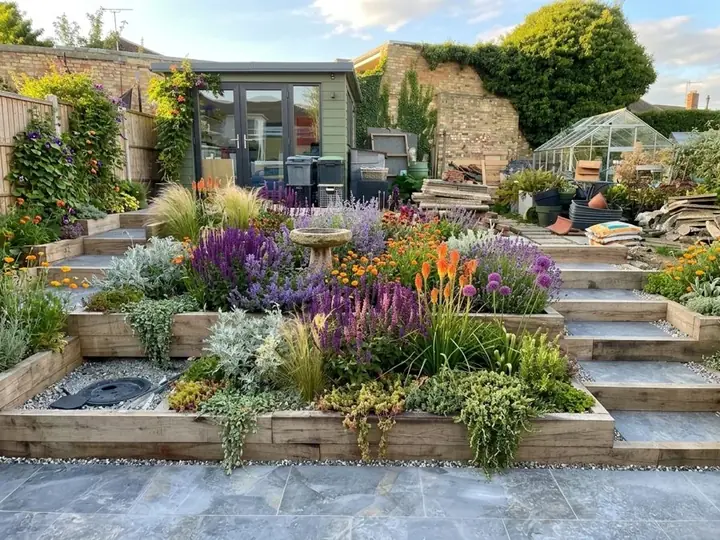
- Modern: crisp lines, natural materials such as stone, slate and wood, and simple blocks of planting.
- Mediterranean: gravel between drifts of drought tolerant plants such as lavender and rosemary, for sunny, well drained spots.
- Wildlife: plants and features that bring in birds, bees and other helpful insects, in a garden of any size.
- Formal: symmetry, clipped hedges and a clear plan, which the RHS notes works even in tiny town gardens.
- Low maintenance: plants in the ground rather than pots that need watering, and gravel in place of some lawn; the RHS notes a simple gravel garden can look good with very little upkeep.
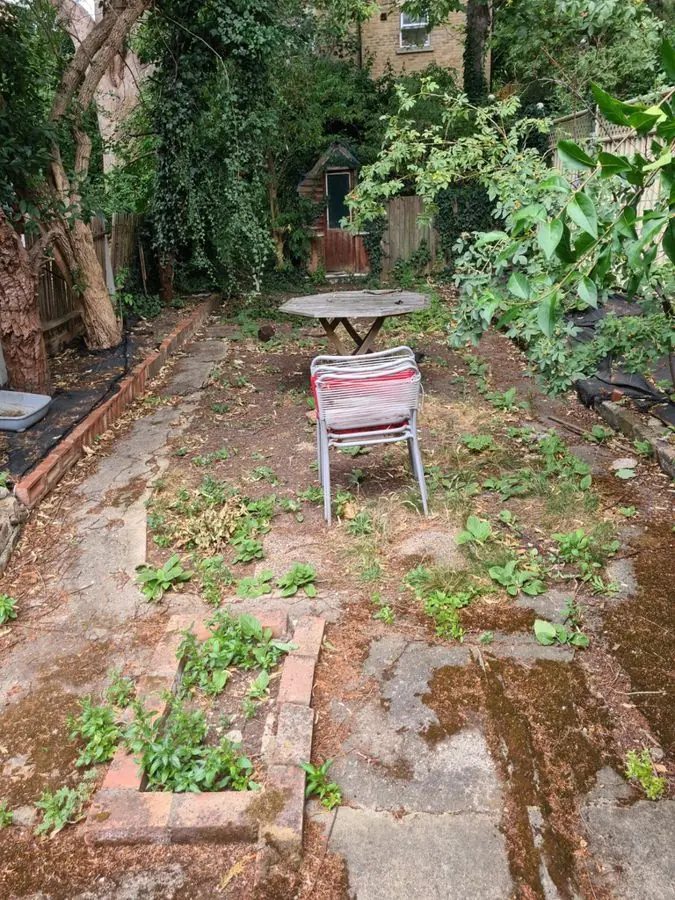 Before
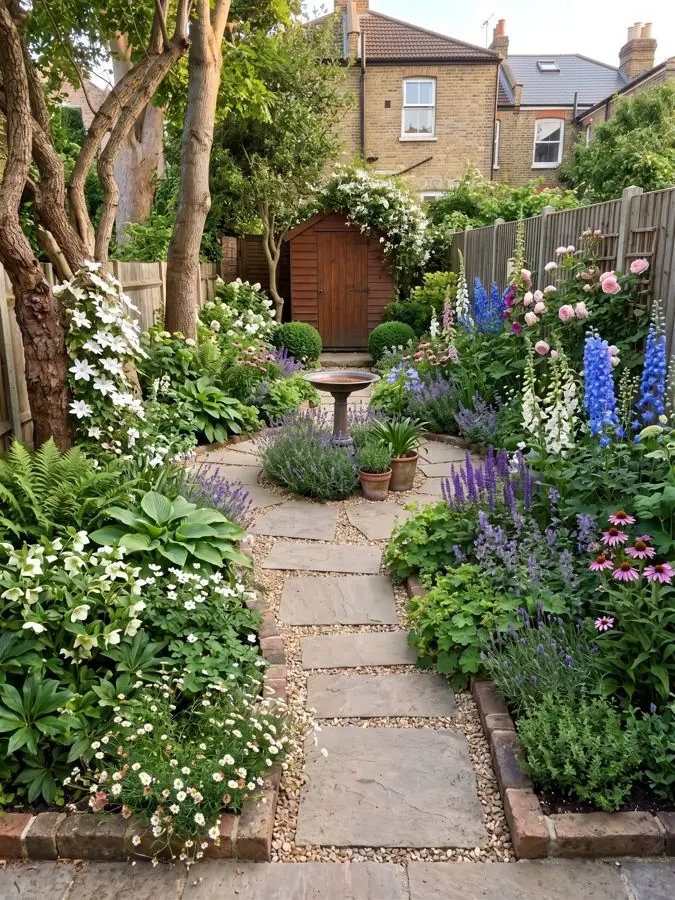 After
Step 5: Plan the structure first: boundaries, paths, seating and lawn
The hard parts of a garden, its boundaries, paths, patio and walls, are what gardeners call hard landscaping, and the RHS calls them the backbone of the garden. They are the hardest and dearest parts to change later, so they go on the plan before a single plant.
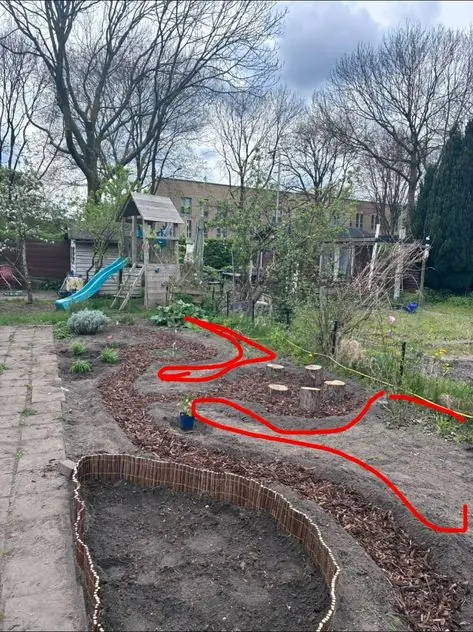 Before
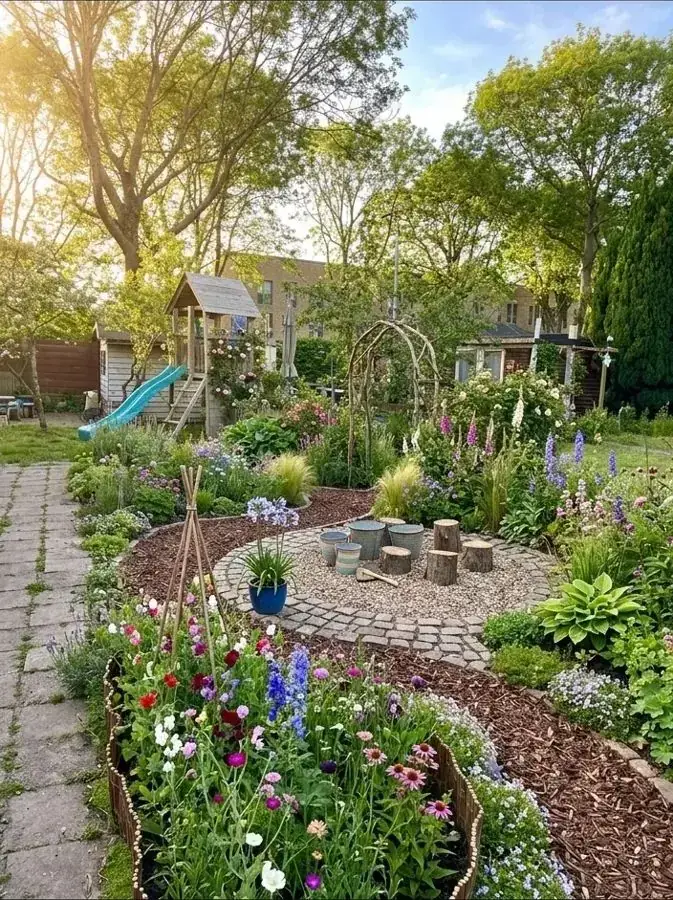 After
Boundaries
Decide what each edge needs to do: screen a view, shelter you from the wind, or fade into the background. A hedge is the greenest choice and a home for wildlife, and because it filters the wind rather than blocking it, it shelters better than a solid fence, which makes the wind gust. Climbers on trellis add height and green quickly, and painting a fence a darker colour makes it less overbearing and helps the plants in front stand out.
In England, the Planning Portal says a new fence, wall or gate needs planning permission if it is over 2 metres high, or over 1 metre next to a road used by vehicles, and different rules apply near a listed building. Wales may differ, so check with your council.
Paths
Paths go where people actually walk: back door to the shed, the bins, the washing line and the seat. The RHS advises laying paths and other hard landscaping before planting, so you are not trampling new beds or getting bogged down every time you step out. Avoid the straight concrete path that slices down the middle of a garden, one of the common mistakes the RHS lists. Gravel is one of the cheapest ways to cover ground, and smaller stones are easier to walk on than big pebbles.
Seating and patio
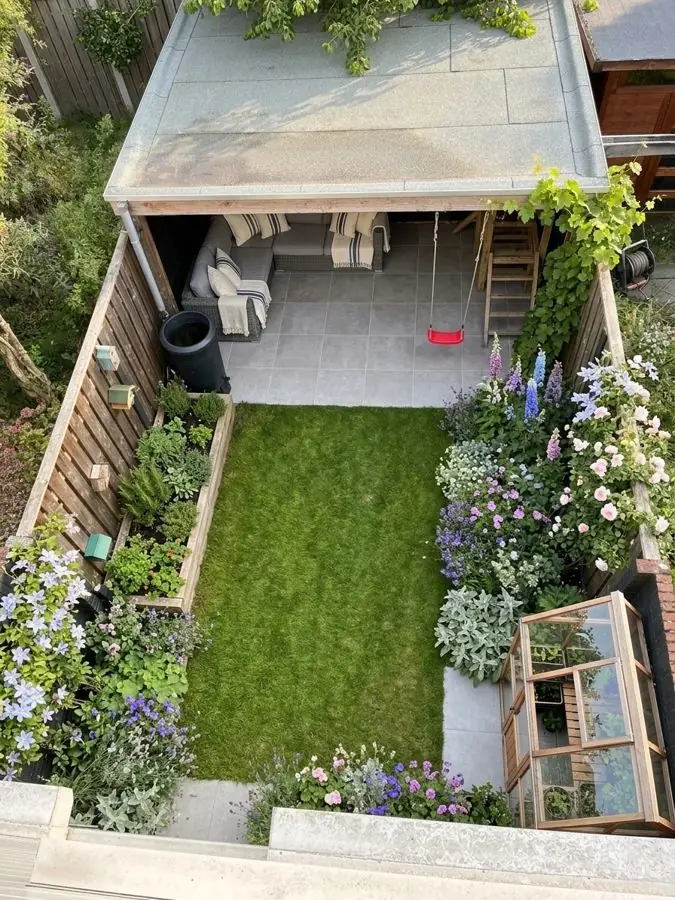
Put seats where the sun is when you want to sit out. A sheltered corner with morning sun suits breakfast, but it will probably be in shade by evening, so the RHS suggests a second seat for the evening sun. Draw the table and chairs on the plan before you size the paving: a patio too small to sit at comfortably is another common mistake.
Lawn, or no lawn
Ask whether you need a lawn at all. It earns its place if children play on it; in small or awkward gardens, or with nowhere to keep a mower, the RHS suggests bigger borders, a larger patio or gravel instead. If you keep one, curves and circles work well in small plots, and even cutting the corners off a square lawn makes it look designed. April and October are the best months to lay turf or sow seed.
Step 6: Plant in layers
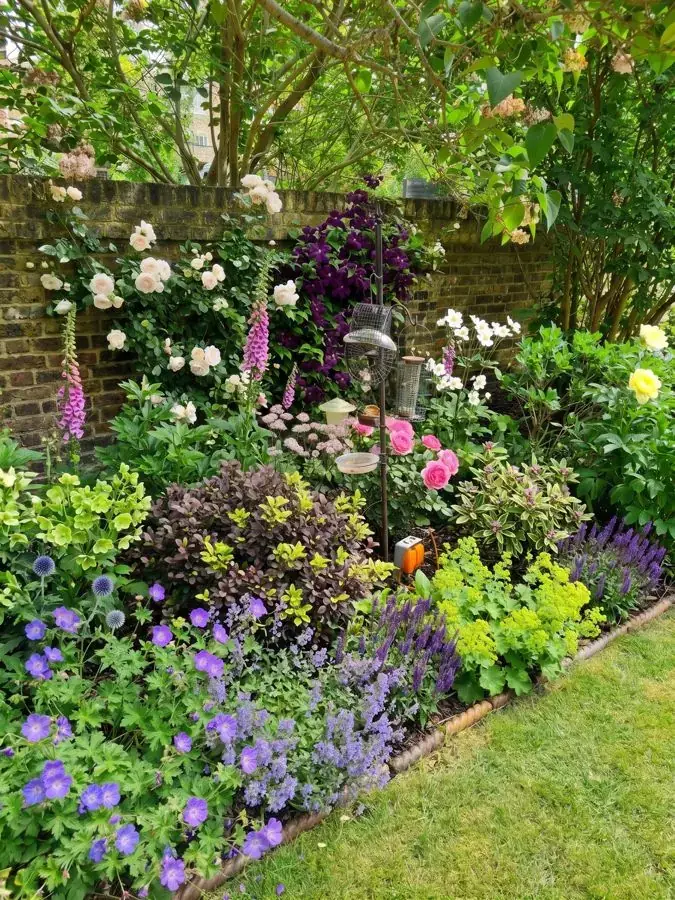
With the structure on the plan, add plants in order of size, starting with those that take longest to grow.
- Trees and hedges first. The RHS advises deciding on these long term plants first, so they can grow while you sort out the rest. Young plants settle in quickly and usually catch up with bigger ones within a few years.
- Evergreens and large shrubs next. Placed first in each border, they give it its bones, the shape it keeps all year.
- Then perennials and small shrubs, in groups. Plant several of the same plant together, ideally in odd numbers, and repeat the groups along the border. It stops the planting looking bitty and gives it flow. That is what people mean by the 3-5-7 rule in landscaping: 3, 5 or 7 of one plant together, rather than pairs or rows.
- Tall plants mostly at the back. A few tall, airy plants near the front look natural, and bright colours and big flowers work best nearest where you usually look from.
- Quick fillers last. Hardy annuals such as poppies and cornflowers give cheap, fast colour in the first summer while slower plants grow.
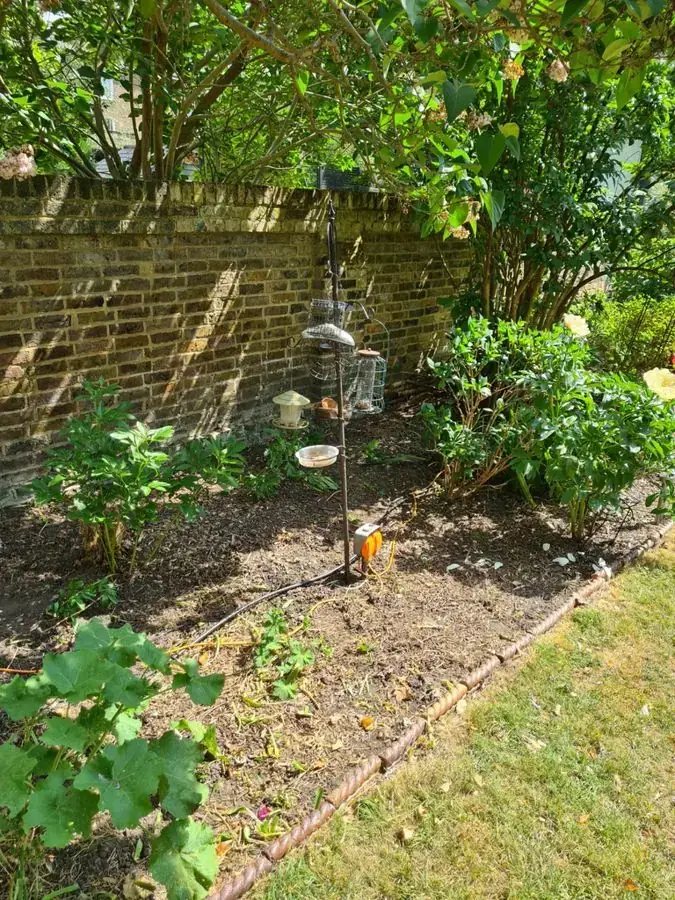 Before
 After
How many plants?
As a rough guide, the RHS suggests five perennials, or three small shrubs, or one large shrub for each square metre of border. Our planting plan page shows what a finished plan looks like: every plant named, how big it grows, where it goes and when it flowers.
Step 7: Choose plants that suit each spot
The RHS calls this right plant, right place: plants suited to the light, soil and moisture they get grow better, waste less money and suffer fewer problems. Use your notes from step 2 as a filter rather than a limit. The RHS Plant Finder lists 69,000 plants, so narrowing them down helps. Garden Design App does this matching for you: plants are picked to thrive where you live, in your light and soil, and Pro or Max plans (£29 or £49, paid once) name every plant in a planting plan, with the pot size to buy, how tall it grows, a care guide and a flowering calendar.
- Light: sun lovers for south and west facing beds, shade plants for north and east facing ones. The north side of a wall avoids extremes of heat and cold and suits hardy fuchsias, hellebores and Japanese anemones. See our plants for full sun and plants for dry shade.
- Soil: clay, sandy and chalky soils each have plants that do well in them. See our plants for clay soil and plants for chalky soil.
- Seasons: write next to each plant the months it looks its best, and aim for something in flower or looking good in every month of the year.
- Colour: in a small border, keep to a few colours. Three that sit next to each other on the colour wheel (blue, violet and mauve) or two opposites (violet and yellow) usually work, and green ties it all together. Our colour schemes show combinations on real borders.
- Care: check each plant's final height and spread, and whether it needs staking, pruning or dividing, against the time you set aside in step 1.
When to plant
Spring and autumn are the best times to plant. You can plant at any time the ground is not frozen, but summer planting means a lot more watering.
Step 8: Set a budget and phase the work
Set your total before you finish the design, and give the structure its share first: it is the hardest part to change later. The RHS suggests breaking a big project into stages, such as paths, patio and other hard landscaping one year and planting the next, and buying the best quality materials you can afford. Prices vary with region and finish; these are ranges published by UK guides, with the date each guide gives:
| What | Typical range | Source and its date (all read 13 Nov 2026) |
|---|---|---|
| Flagstone patio, with base, supply and laying | £65 to £80 per m² | Checkatrade cost guide, updated June 2026 |
| Real turf, before laying (laying costs extra) | £12 to £30 per m² | Checkatrade cost guide, updated June 2026 |
| Bare root hedging plants | 60p to £3 each | RHS budget garden guide, 22 Nov 2023 |
| A garden designer's plan for a full redesign, with planting and layout | £500 to £1,500 | less.co.uk, updated 12 Nov 2026 |
| Landscaping a small garden, all in | £1,000 to £3,500 | MyBuilder, updated 23 Oct 2026 |
Garden design ideas on a budget
- Buy small plants: they usually catch up with bigger ones within a few years.
- Plant a bare root hedge rather than ready grown instant hedging.
- Grow from seed; a warm windowsill is enough to start.
- Reuse what you have: clean up old slabs, or lift a patio in the wrong place to make a new path.
- Look for free or cheap materials on Freecycle or in the free ads, and always ask before taking anything from a skip.
Step 9: Build it in the right order
- Sort out drainage and any heavy groundwork first. It is easiest from late summer to early winter, when the soil is usually driest. Piped drainage is skilled, heavy work, best left to a landscape or drainage contractor.
- Build the boundaries, paths, patio and any other hard landscaping, so you are not working over finished beds.
- Prepare the ground for beds and lawn. Dig it over, taking out rubble and buried rubbish, and fork in a soil conditioner such as farmyard manure; on new build plots the RHS suggests at least a bucketful per square metre.
- Lay or sow the lawn, in April or October.
- Plant trees and hedges, then shrubs, then perennials, in autumn or spring if you can. Mulch any ground you will not plant yet, to keep the weeds down.
How to redesign your garden without starting again
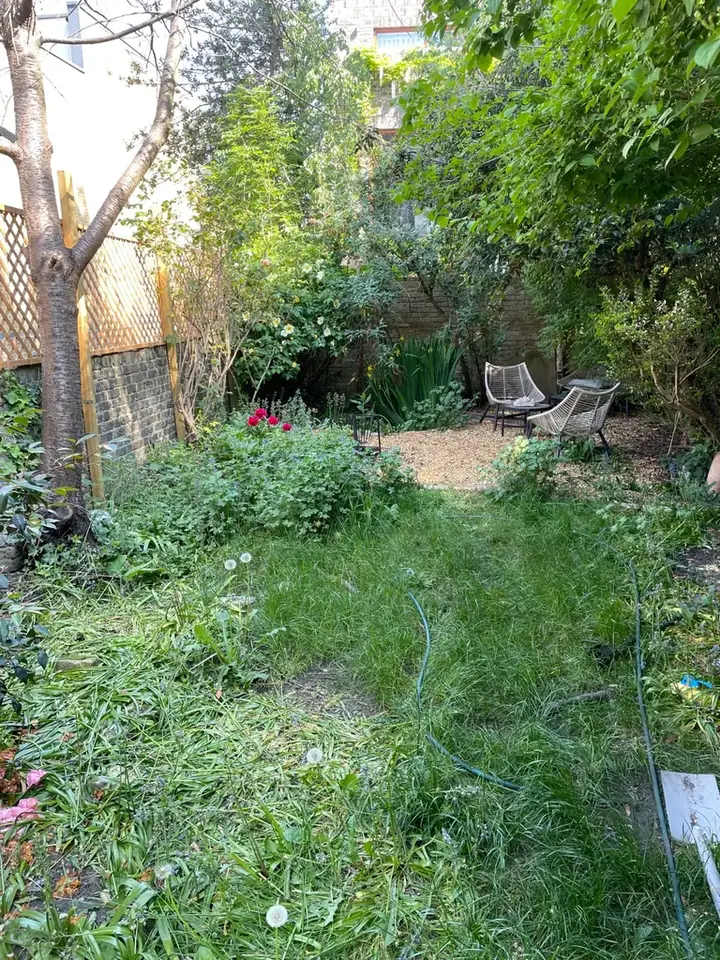
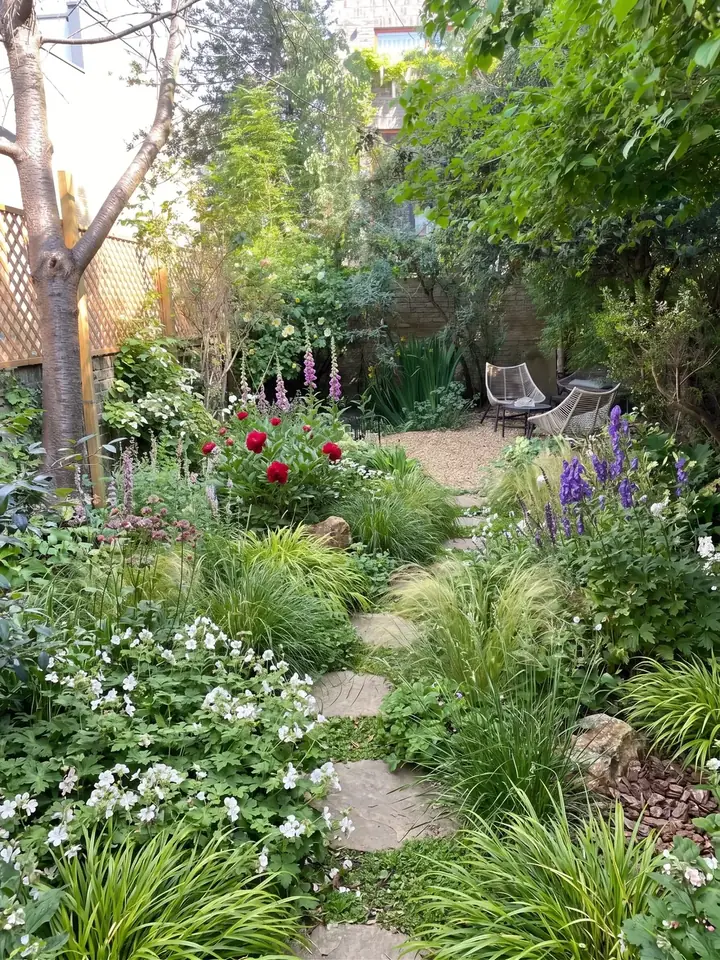
Most of us are not starting from bare soil. When you are working out how to redesign a garden you have inherited, the RHS advice is to hold back: watch it through a year first, because a bare patch in summer can hide spring bulbs, and every plant or feature you keep saves money.
- Before removing a big shrub or tree, ask why it is there. It may hide an ugly view, give privacy or shelter you from the wind.
- Lift the crown rather than cut it down: taking off the lower branches of trees and large shrubs lets in light and keeps the feeling of a mature garden.
- Fix layout mistakes first, such as a patio too small to sit at or a path slicing the garden in half. They are hard work, but they are the backbone.
- Replace what is past its best. Short lived shrubs such as old lavenders and hebes rarely recover, however hard you prune them; most perennials do best lifted, split and replanted every three years or so.
- Go for quick wins while you decide: paint fences and sheds, reshape the lawn, and put matching pots either side of a door or bench.
 Before
 After
Decide how much to change
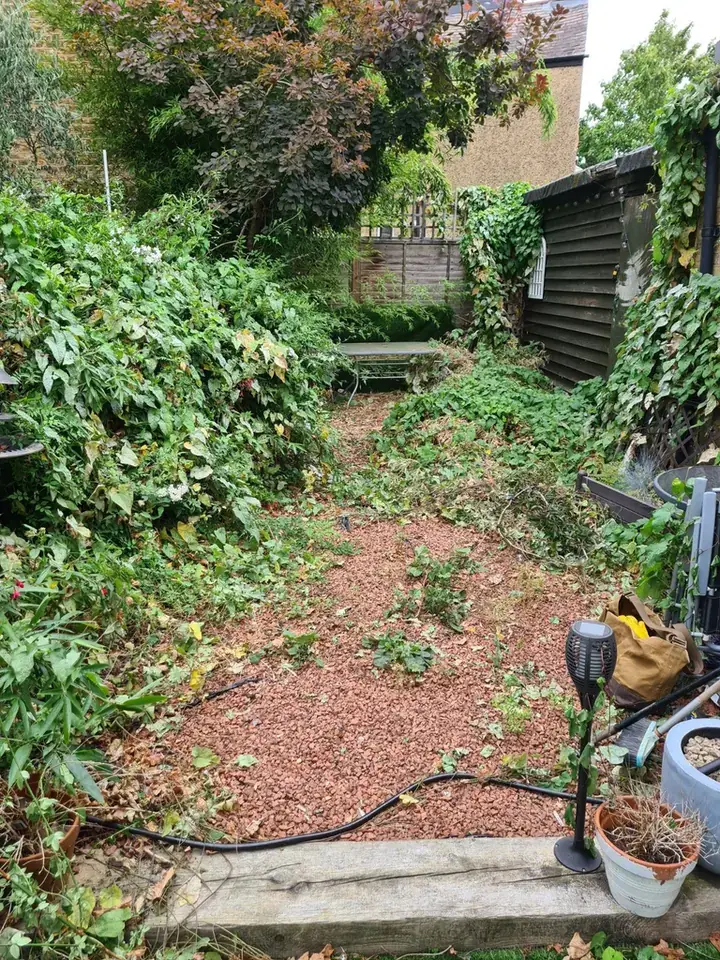
There are three sensible levels: a fresh start with new paths, patio, lawn and planting; keep the patio and paths and rework the beds; or keep the shape and just replant the borders. If the garden has run wild, see our overgrown garden ideas, and our garden makeovers show real gardens before and after their redesign.
Why use Garden Design App?
You don’t need to know the name of a single plant.
Your own garden, from one photo
One photo from your phone is all it takes. Your real garden, planted, in about a minute.
Ask for anything you want
Pick one of 15 styles and a colour scheme, then ask for anything you want, like “add a wildlife pond”.
The garden stays familiar
Your trees, fences and house stay, and you choose whether the patio and paths stay too.
Plants you can find
Garden centre favourites and RHS Award of Garden Merit winners, chosen by a professional gardener.
Right for where you live
UK, US or anywhere else: plants matched to your climate, your light and your soil, so they thrive.
Help beyond planting day
Every paid design comes with a care guide and a flowering calendar.
Questions people ask
How do I design a garden if I have never done it before?
Follow the steps above in order and take your time over the first two. Garden design for beginners is mostly watching and listing: what you want, where the sun falls, what your soil is like. If the whole garden feels like too much, start with one area, such as the view from the kitchen window, and phase the rest. It helps to start from a finished look: add a photo of your garden to Garden Design App, see it redesigned in about a minute, and use these steps to build the design you love.
How can I design my garden for free?
Most of the design costs nothing but time. Watching the light, the hand test for soil and the vinegar test for chalk are free; a tape measure you own or can borrow and squared paper are all you need to draw the plan. For ideas, use library books, online pinboards and gardens with free entry. When you build, keep costs down with small plants, seed and reused materials. To see ideas on your own garden, Garden Design App's first 3 designs are free, with no card: add a photo and see your garden redesigned in about a minute.
What is the first thing to do when designing a garden?
Write down what you want from it and who will use it, then watch the garden before changing anything: where the sun falls through the day, which parts stay wet, where you feel overlooked. The RHS suggests doing this over a whole year if you can.
Should the hard landscaping or the planting come first?
The hard landscaping. Paths, patios and boundaries go in first, so you are not trampling new plants or getting bogged down in mud. If the budget is tight, the RHS suggests doing the hard landscaping one year and the planting the next.
What is the 3-5-7 rule in landscaping?
It is a planting rule: put plants in odd numbered groups, 3, 5 or 7 of one plant, rather than in pairs or rows. The RHS gives the same advice for borders: plant in groups, ideally of an odd number, so the border does not look bitty, and repeat the groups along it to give the planting flow.
What are the main garden design principles?
The RHS advice behind the steps above comes down to a few: choose the right plant for the right place, working with the light and soil you have; put the structure (boundaries, paths, patio and lawn) on the plan before the plants, because it is the backbone of the garden and the hardest part to change later; plant in groups, ideally of odd numbers, and repeat them along a border for flow; keep a small border to a few colours; and aim for something in flower or looking good in every month of the year. To see those principles at work on the garden you have, add a photo of your garden to Garden Design App and see it redesigned in about a minute, with plants picked to thrive where you live.
How long does it take to design a garden?
Measuring and drawing a plan can take a weekend. The longer part is getting to know the garden: the RHS suggests watching it through the seasons, ideally for a year, before making big changes. Building in stages, hard landscaping first and planting the following year, spreads the work over two years. Seeing a first design takes far less: add a photo of your garden to Garden Design App and see it redesigned in about a minute.
Sources (16)
- RHS, Gathering inspiration for your garden, read 13 November 2026
- RHS, Get to know your garden, read 13 November 2026
- RHS, Creating your garden plan, read 13 November 2026
- RHS, Soil types, read 13 November 2026
- RHS, Planning a border, read 13 November 2026
- RHS, Understanding microclimates in your garden, read 13 November 2026
- RHS, How to install garden drainage, read 13 November 2026
- RHS, Getting started with a new build garden, read 13 November 2026
- RHS, Making your mark on an established garden, read 13 November 2026
- RHS, Garden design styles, read 13 November 2026
- RHS, Budget friendly garden design ideas, read 13 November 2026
- Planning Portal, Fences, gates and garden walls, read 13 November 2026
- Checkatrade, Garden landscaping cost guide, read 13 November 2026
- less.co.uk, Garden design cost, read 13 November 2026
- MyBuilder, Garden landscaping costs, read 13 November 2026
- Garden Design App, homepage, read 13 November 2026